Buy Now →
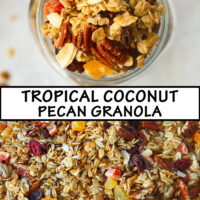
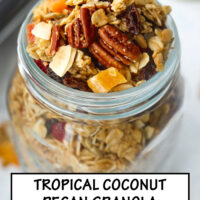
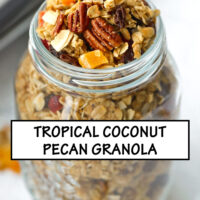
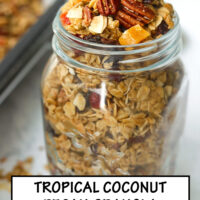
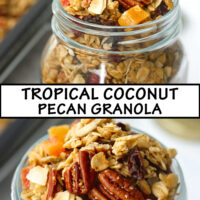
 Tropical Coconut Pecan Granola
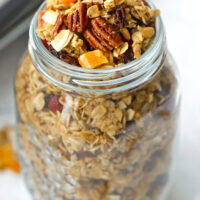
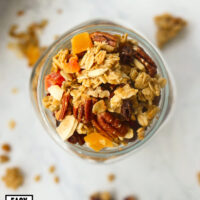
This Tropical Coconut Pecan Granola is easy to make, incredibly delicious, and naturally sweetened with maple syrup or honey. It’s full of toasty and crunchy oats, coconut flakes, your choice of nuts and seeds, and a tasty assortment of tropical dried fruit!
- Prep Time: 5
- Cook Time: 24
- Total Time: 29 minutes
- Yield: 21 1x
- Category: Breakfast, Brunch
- Method: Bake
- Cuisine: American
- Diet: Gluten Free
Ingredients
Scale
- 4 cups Old Fashioned Rolled Oats (use gluten-free oats if needed)
- 1 cup raw Unsalted Pecans (or other nuts of your choice) – coarsely chopped
- ½ cup raw Unsalted Sunflower Seeds (or other seeds of your choice)
- ¼ cup Desiccated Coconut (optional)
- ½ TSP Fine Sea Salt
- ½ cup Extra Light Tasting Olive Oil (or melted coconut oil)
- ½ cup Pure Maple Syrup (or honey)
- 1-2 TSP Almond Extract (or vanilla extract)
- ½ cup Unsweetened Coconut Flakes (or unsweetened shredded coconut)
- 1 cup Tropical Dried Fruit (dried apricots, mango, pineapple, papaya, cranberries, raisins, banana chips, etc.) – larger pieces chopped
Instructions
- Prep: Preheat oven to 165°C/325°F/Gas Mark 3, and line a large rimmed baking tray with parchment paper (nonstick cooking paper).
- Combine dry ingredients: In a large mixing bowl, combine the oats, pecans, sunflower seeds, desiccated coconut (if using), and fine sea salt. Mix until evenly combined.
- Combine wet ingredients: Combine the extra light tasting olive oil, maple syrup, and almond extract in a measuring cup. Stir, then pour into the bowl with the dry ingredients mixture. Mix well, until everything is lightly coated.
- Spread: Pour the granola mixture onto the prepared baking tray and use a large flat backed spatula to spread into an even layer.
- Bake: Bake for 22-24 minutes, stirring once halfway in between and pressing down with the back of a flat spatula to create a more even layer – this helps with forming clusters. Rotate the pan so that the back is facing the front when you place the stirred granola back into the oven – this promotes even baking. Then remove the pan from the oven and sprinkle the unsweetened coconut flakes on top. Bake for another 3-4 minutes, until the granola is crisp and the coconut flakes have lightly toasted.
- Cool: Transfer the tray to a cooling rack and allow to cool completely (at least 40 minutes). The granola will continue to crisp up as it cools.
- Break into clusters and add dried fruit: Once completely cool, break the granola into clusters and stir in the dried fruits. (Note: This granola will have a few clusters only. See notes below if you’d like the granola to have more clusters.)
- Enjoy and store: Enjoy with milk or Greek yogurt, or on its own as a snack. Store the granola in a sealed airtight container in a cool dry area for 2-3 weeks.


Notes
- Nutritional information: This recipe yields about 10.5 cups. Nutritional information provided is based on ½ cup servings.
- Nuts: Raw unsalted pecans, almonds, walnuts, macadamias, brazil nuts, hazelnuts, pistachios, or whatever else you love and have on hand will work.
- Seeds: Raw unsalted sunflower seeds, pumpkin seeds, chia seeds, flaxseeds, etc. are all great options.
- Fine sea salt: Use less if using table salt.
- Use honey and coconut oil for more clusters. Honey is stickier than maple syrup and will make the oats and other dried ingredients stick more to each other. Coconut oil will give the granola a denser texture than extra light tasting olive oil, and using it too will yield a more clustery granola.
- Use store-bought mixed tropical dried fruit blend for convenience. I use a bag of Sunkist Premium Tropical Dried Fruits Blend, which has a variety of tasty dried fruits: dried mango, dried pineapple, dried papaya, dried cranberries, and raisins. It saves time, because you don’t have to chop anything. Note that some manufacturers add sugar to dried fruit. If you’d like to keep this granola refined sugar free, be sure to use a package of dried fruit with no added sugars.
- Can I make it less sweet? Reduce the maple syrup amount to 1/3 cup. If you’d like to omit the sweetener entirely, note that without a binding agent, clusters will not form. It’ll still taste delicious even without the clusters though.
- Can I add other flavorings? Ground cinnamon, ginger, nutmeg, or pumpkin pie spice would be a great addition if you’d like to add a warming touch to the granola.
- Can I freeze granola? Once completely cool, transfer to a freezer friendly bag and freeze for up to 3 months. When ready to enjoy, thaw at room temperature for about 10 minutes to allow the dried to soften before serving. I recommend freezing in individually portioned freezer bags so that you can thaw the number of portions that you need.
Nutrition
- Serving Size: 1/2 cup
- Calories: 222
- Sugar: 9.9g
- Sodium: 66.9mg
- Fat: 12.4g
- Saturated Fat: 2.9g
- Unsaturated Fat: 9.1g
- Trans Fat: 0g
- Carbohydrates: 23.6g
- Fiber: 3g
- Protein: 3.1g
- Cholesterol: 0mg
Find it online: https://thatspicychick.com/tropical-coconut-pecan-granola/