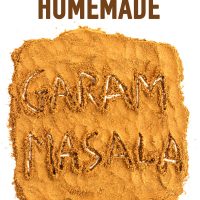
Easy Homemade Garam Masala
This homemade garam masala is easy to make and takes just a few minutes. It’s also gluten free, preservative free, and adaptable! Much better than buying readymade garam masala as you can have full control of the flavors!

If you’ve ever made an Indian recipe, chances are that it has called for garam masala. But what is garam masala? It’s a combination of blended whole spices such as cloves, cardamom, cumin, cinnamon, nutmeg, coriander, fenugreek, star anise, black pepper, and sometimes even red dried chilies.
👆This ingredient list is only partial and garam masala blends are definitely not limited to just these spices! Although ‘garam’ means hot when translated, garam masala is not necessarily spicy but instead, is a spice blend that is believed to have body warming properties.
The combination and type of spices used varies regionally and from household to household. You can use it to season curries, meat dishes, and various other Indian and Southeast Asian food.

I use it in a number of recipes such as my Spicy Chicken Samosas, Indian Onion Chicken Curry, Creamy Spicy Butter Chicken (Chicken Makhani), and Cauliflower and Potato Indo-Thai Dry Curry (recipes coming soon!) to name just a few!
Although you can buy it readymade from stores, homemade garam masala is sooooo much better for several reasons.
Here’s why you should make your own:
- It takes just minutes to make. All you need is a spice or coffee grinder to blend everything together!
- You can have full control over the flavors and ingredients. You can adjust homemade garam masala to your taste unlike readymade store-bought garam masala. If you want a little less cumin flavor, use less cumin seeds. If you prefer more cardamom, then simply use more! The world is your oyster here so you do what works best for you and your home. As you make batch after batch, you’ll realize what you prefer more or less of. Just adjust accordingly each time you make it and you’ll eventually find a combination that you love the most and works best for your house. 😊
- It’s 100% preservative free. Some store-bought garam masalas have added preservatives to allow them to last longer as well as artificial colors to make them (supposedly) look Umm…why put that stuff in your body if you can avoid it by making your own at home so easily?
- It smells and tastes a thousand times better. Store-bought garam masala tends to be a bit bland and doesn’t allow a dish to pack half the punch it does when you use homemade garam masala. The latter is more flavorful and tastes fresher. Also, the aroma that fills your house when you cook with it is intoxicatingly dreamy and enticing! 😍😍 Store-bought garam masala has no such effect and has a weak and ambiguous smell.
- You can use it in several types of dishes and cuisines. You’re not just limited to using it in Indian cuisine and you can enliven curries, grilled meat marinades, and even sandwich salad spreads with it!
In my house, I have four people who can tolerate varying levels of spice in food. So, we don’t use spicy ingredients such as dried red chilies or black peppercorns in our blend. This way, we have the option of keeping dishes mild or firing them up with other spicy ingredients depending on who’s eating!
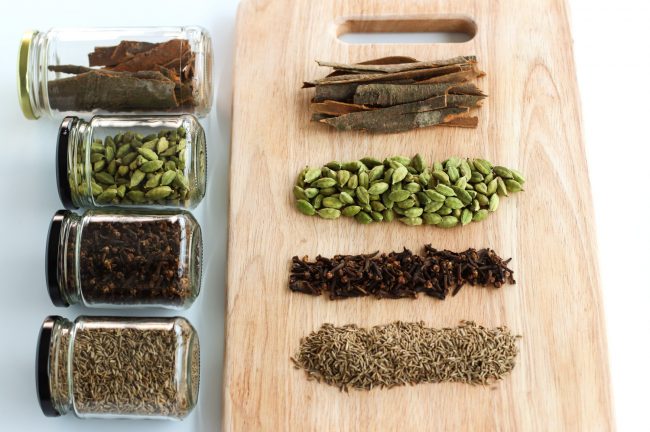
I use just four ingredients in my garam masala: cumin seeds, cardamom pods, whole cloves, and cinnamon. You can use either cinnamon sticks or cassia bark. Both taste great in the blend and I use whatever I happen to have on hand. Just note that a blend with cinnamon sticks will be slightly sweeter than one with cassia bark since the latter has a mild, slightly bitter and stronger flavor.

I also don’t dry roast the ingredients over heat before blending them. Some allege that garam masala tastes better and its flavor is enhanced if you dry roast the ingredients first, but I personally feel that using raw spices allows each individual spice to retain its flavor and keeps the spice blend fresh longer. My experience has been that when you add raw garam masala while cooking, the flavors penetrate the food better and are more aromatic than when you add garam masala that was made by dry roasting the ingredients first.
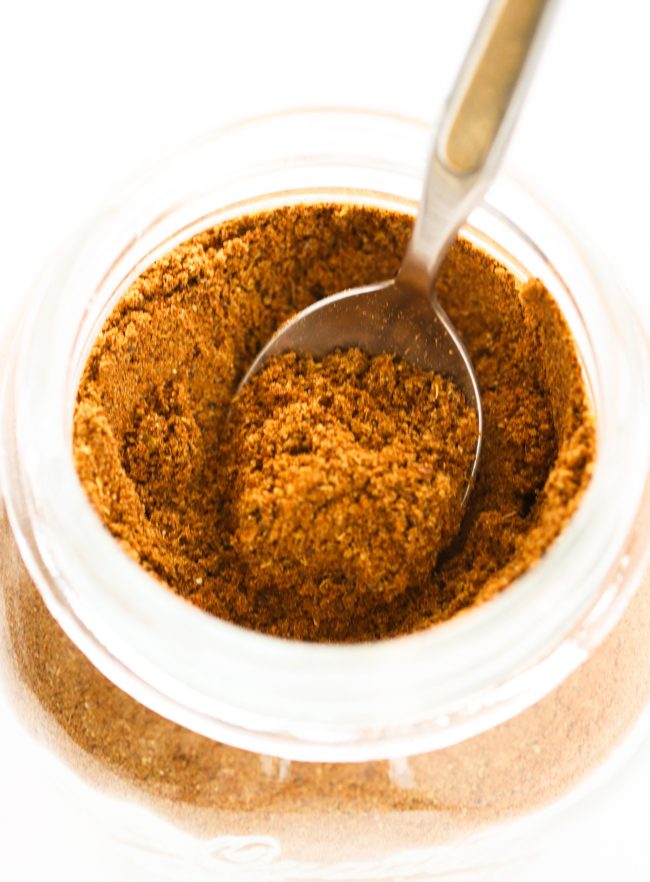
To make my version of garam masala, all you have to do is gather all your ingredients and then blend them up into a fine powder in a spice or coffee grinder. Store in an airtight container and in a cool dry area. Use it as needed in recipes to liven them up and make them more fragrant!
Do yourself a favor and make a batch now. Thank me later after you enjoy your first dish with it. 🤗 Xx

Easy Homemade Garam Masala
This homemade garam masala is easy to make and takes just a few minutes. It’s also gluten free, preservative free, and adaptable! Much better than buying readymade garam masala as you can have full control of the flavors!
- Prep Time: 14
- Total Time: 14 minutes
- Yield: About 1 Cup 1x
- Category: Spices
- Method: Blend
- Cuisine: Indian
Ingredients
- 5 TBLS / 40g Cumin Seeds
- 5 TBLS / 40g Cardamom Pods
- 5 TBLS / 20g Whole Cloves
- 6 – 7 pieces / 20g Cinnamon Sticks or Cassia Bark – roughly chopped/broken up into small pieces
Instructions
- Blend everything together in a spice grinder or coffee grinder, while taking breaks in between to prevent the grinder from overheating, until a fine powder consistency is achieved. (You may have to do this in two batches if your grinder is on the smaller side). Mix to ensure there are no large unblended chunks.
- Store in an airtight jar in a cool dry area for up to six months.
Nutrition
- Serving Size: 1 teaspoon
- Calories: 4
- Sugar: 0g
- Sodium: 2mg
- Fat: 0.2g
- Saturated Fat: 0g
- Unsaturated Fat: 0.1g
- Trans Fat: 0g
- Carbohydrates: 0.9g
- Fiber: 0.4g
- Protein: 0.1g
- Cholesterol: 0g
This post may contain affiliate links. We are a part of the Amazon Services LLC Associates Program, an affiliate advertising program designed to provide a means for us to earn a small commission (at no extra cost to you) by linking to Amazon.com and affiliated sites. The nutritional information provided is approximate and can vary based on several factors. It should only be used as a general guideline. For more information, please see our Disclosure.