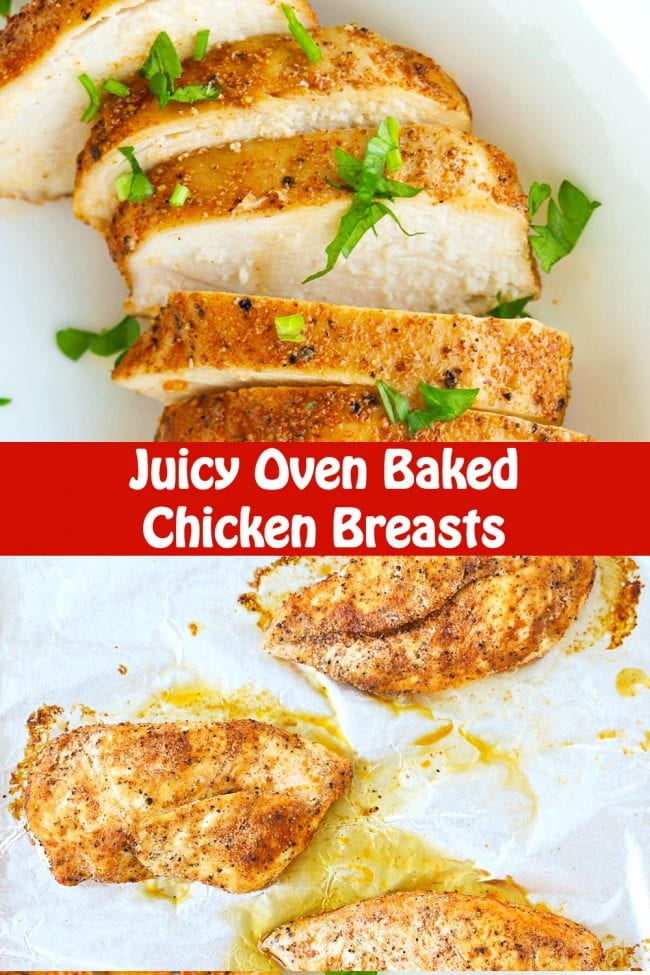
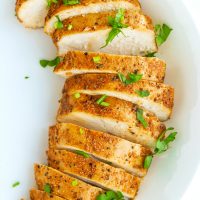
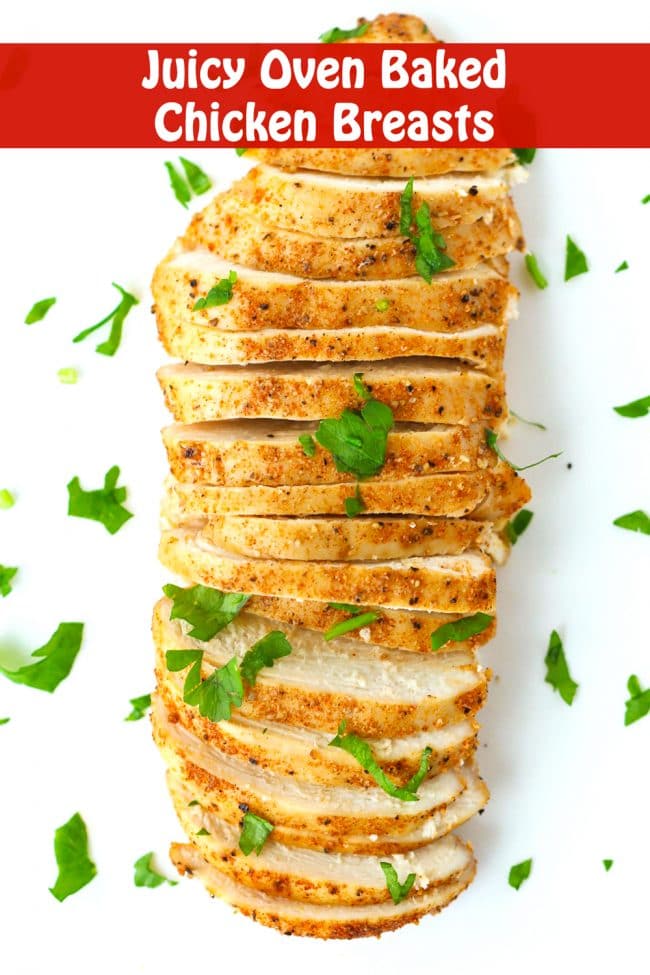
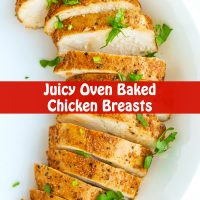
Juicy Baked Chicken Breasts
This post contains affiliate links.
Learn how to make tender, perfectly seasoned, juicy baked chicken breasts in the oven with an easy method that works every time! You can cube, shred, or slice them, and then use for meal prep and in sandwiches, salads, pastas, soups, etc.!
Hi friends!
Today, I’m sharing a basic and easy recipe that I think everyone will find useful. I’m talking about simple, everyday baked chicken breasts. But not just any old chicken breasts. We have here juicy, tender, and perfectly seasoned chicken breasts that are oven baked. And they have NOT been dried out even though they’re boneless and skinless chicken breasts!
Chicken breasts are notoriously known as difficult to cook without drying them out. This is due to the way they’re shaped, and because they come in all sorts of sizes. However, with my easy method, I have always yielded moist and incredibly flavorful chicken breasts.
This is a back-pocket recipe that you can depend on whenever you need cooked chicken for other dishes. Think quick and easy pastas, soups, chicken salads, and pizzas to name just a few. I make this ALL the time and use it for meal prep almost every other week. So I thought it’s about time I shared my method and easy recipe with you guys. 😊
In this post, I’ll be going over my personal foolproof process for making perfectly tender and juicy baked chicken breasts. I’ll also be answering some frequently asked questions in regards to getting the best result as possible, and provide you with some pro-tips that I’ve learned over the years.
Let’s jump in, shall we?
INGREDIENTS
You will need the following ingredients to make these juicy baked chicken breasts:
- Chicken Breasts: You can use fresh or frozen. You will need to fully thaw frozen chicken breasts if using the latter. I used four chicken breasts that were about 7 ounces / 200 grams each.
- Olive Oil: To lightly brush the foil on the baking tray with, and also to brush the chicken breasts with to keep them nice and moist during baking. Feel free to use any other cooking oil you prefer.
- Seasoning Blend: I use an everyday seasonings combination of kosher salt, freshly cracked black pepper, paprika, and garlic powder here. But you are welcome to add any extra spices, seasonings, and dry herbs if you like. Feel free to use a store-bought blend if you prefer. Alternatively, you can also keep it simple and just season with kosher salt and black pepper. This is what I do when I’m using the chicken in other recipes that have a lot of flavor and seasonings already.
HOW TO MAKE JUICY BAKED CHICKEN BREASTS
Prep oven: Preheat oven to 350°F/175°C. Line a baking tray with a sheet of aluminum foil. Brush the foil lightly with about a half tablespoon of olive oil.
Make seasoning blend: Combine kosher salt, freshly cracked black pepper, paprika, and garlic powder in a small bowl. Mix with a spoon or use a small whisk to combine the spices and seasonings until fully integrated.
Brush with oil: Brush the remaining olive oil on all sides of the chicken breasts. (The oil helps to keep the chicken breasts juicy during baking and allows the seasonings to better stick to them.)

Season: Then sprinkle the seasoning mixture on both sides until they are fully coated. You can use your fingers to rub the seasoning into the breasts.

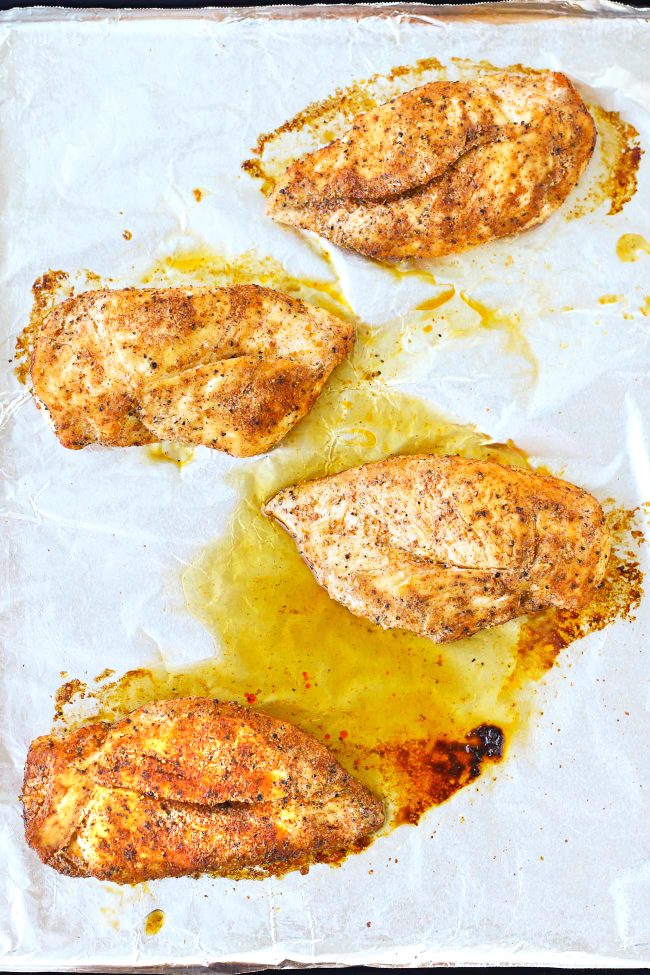
Bake: Place the chicken breasts (plump side up) on the foil lined baking tray and bake for 20-22 minutes, turning once using tongs halfway through, or until the chicken has fully cooked through. You can make sure that they are fully cooked by piercing the thickest part of the breasts with an instant read thermometer. It is safe to consume once it reads 165°F/75°C.
Rest: Remove the baking tray from the oven and let the chicken rest for 10-12 minutes to lock in all the juices. Transfer the chicken breasts to a chopping board, making sure to let any extra liquid/juices drip onto the foil before placing them on the board.
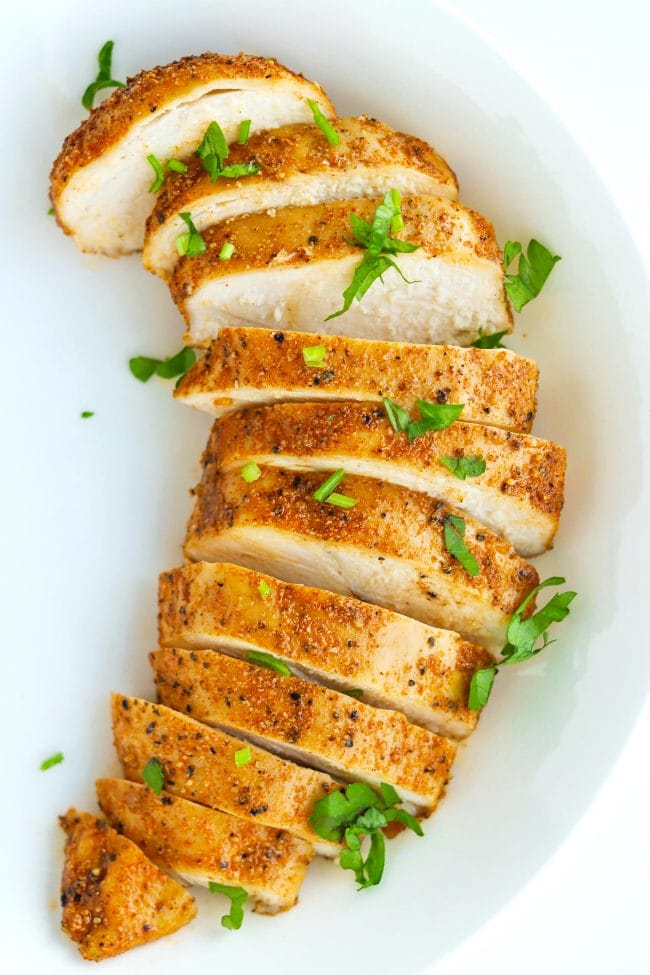
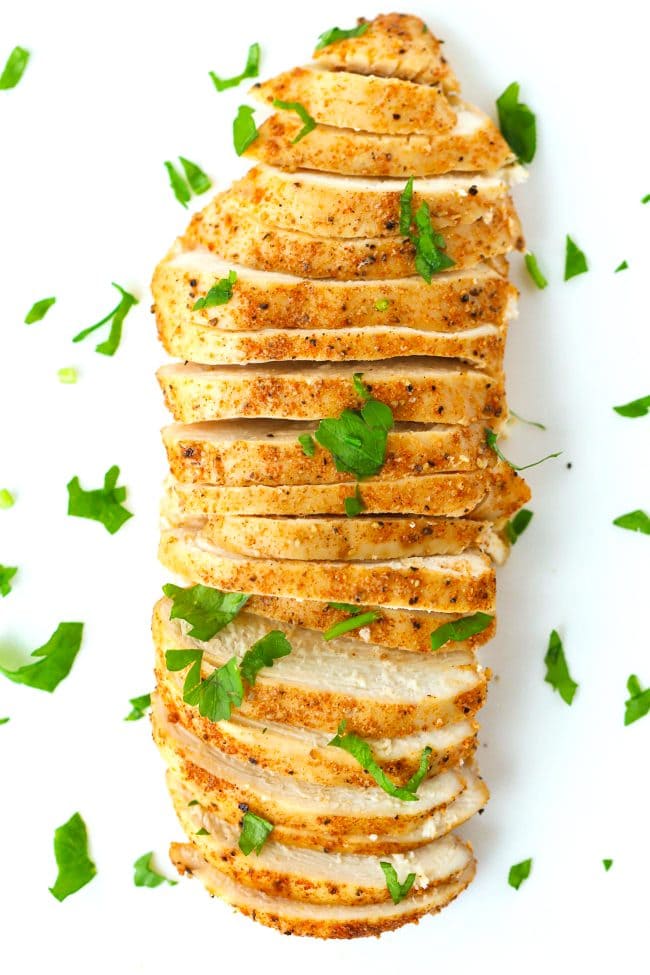
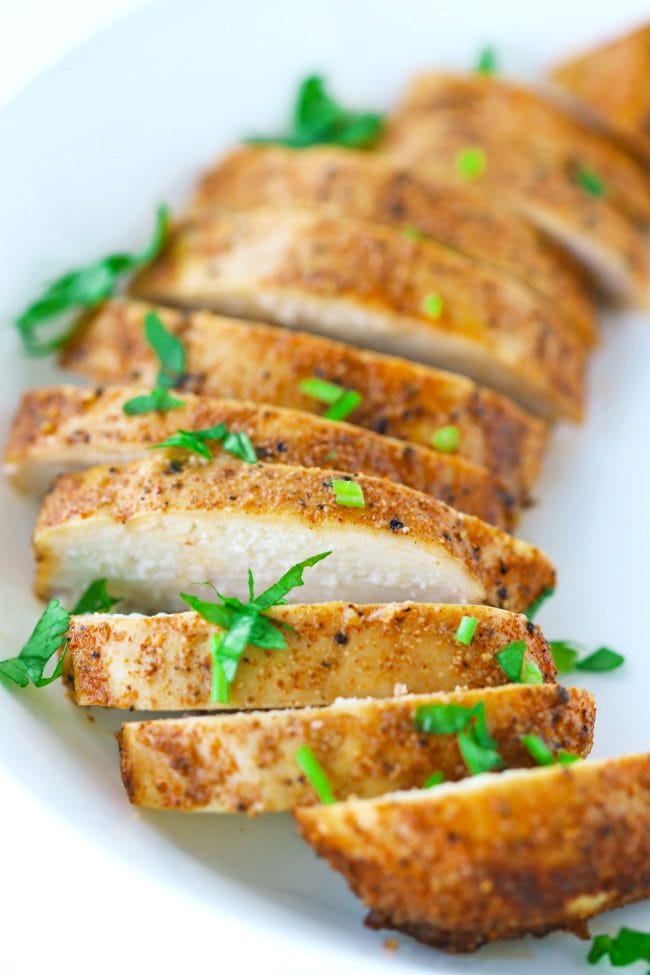
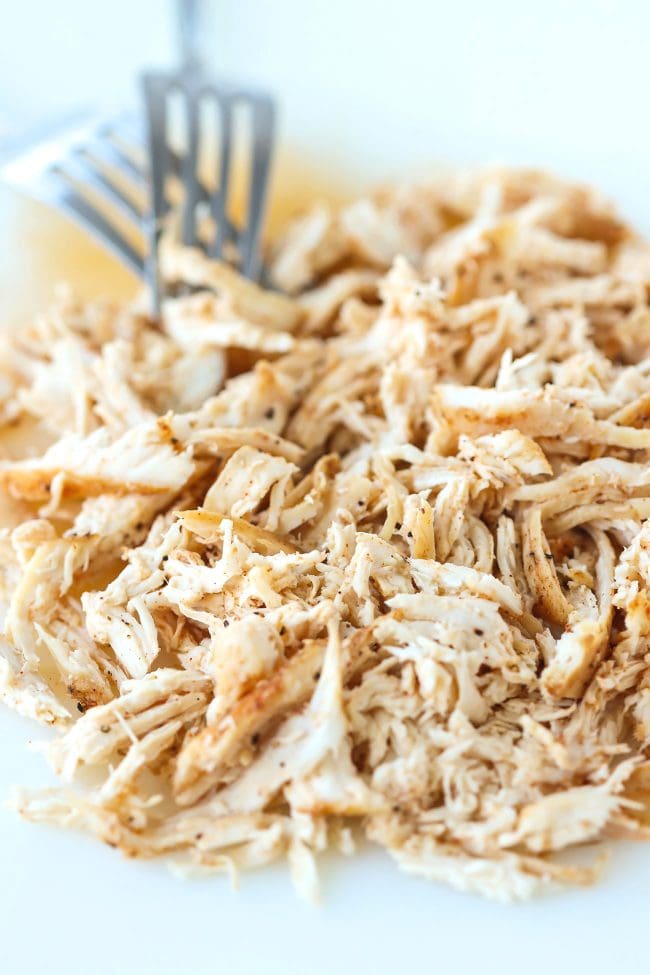
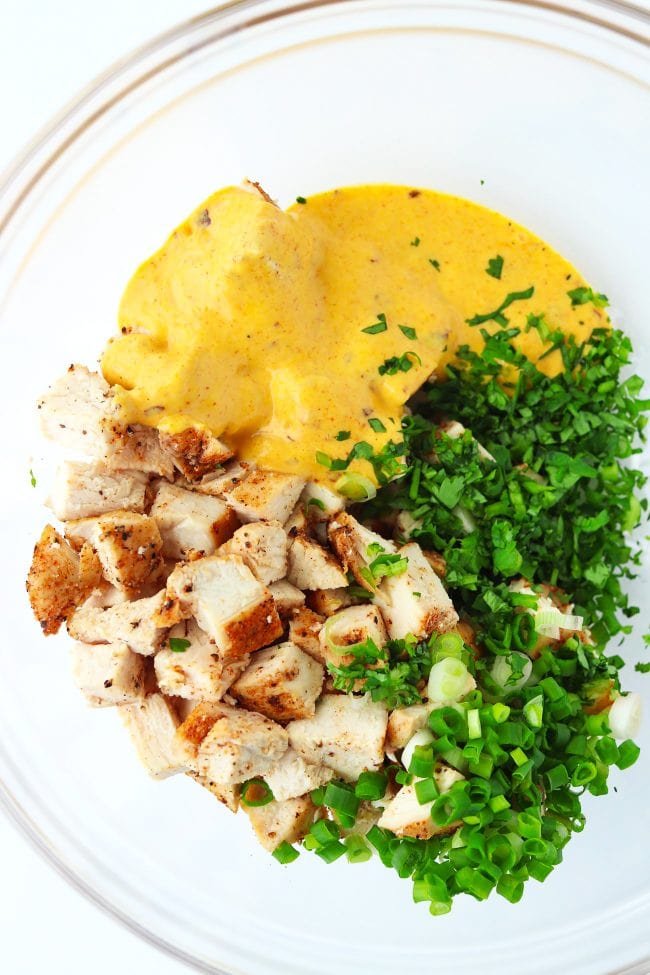
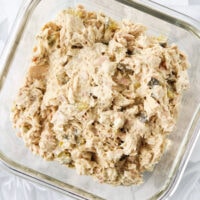
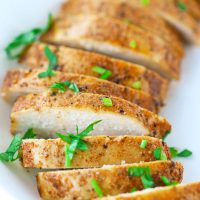
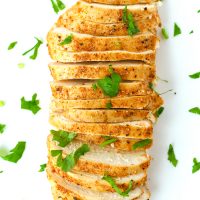
Cube, Slice, or Shred!: Then use a sharp knife to cut into cubes, slice, or shred with two forks.
That’s it! Now you can use them in other recipes that call for cooked chicken or for meal prep!
Full ingredient amounts/instructions in the recipe card below.
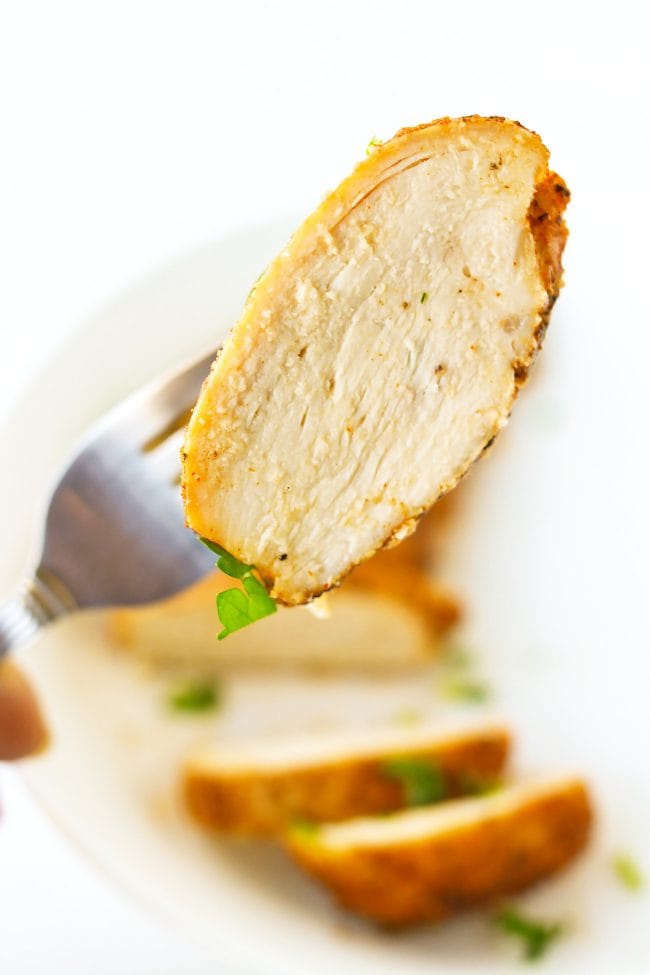
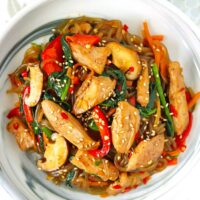
I sometimes slice them thinly and then add them to pastas, or use them on top of lunch salads. Thinly sliced chicken breasts are also great for using on thin crust pizzas too.
But you can also slice them into thick pieces and have it on a salad for lunch, or with some steamed or stir-fried veggies for a nice and light dinner.
When I shred them, it’s usually for soups like my Spicy Mexican Chicken Tortilla Soup and Hearty Pumpkin Chicken Soup.
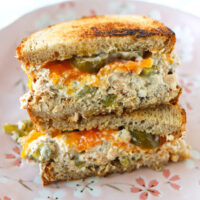
But most often, I cube them to make chicken salad sandwiches for lunch, like this Mango Chicken Salad Sandwich.
FAQS AND PRO-TIPS
I’ve answered some frequently asked questions and provided tips on baking chicken breasts below. These answers have come from personal experience and trial and error over the years, as well as from reading and researching online and in cookbooks. If there’s anything else you’d like to know or are wondering, let me know in the comments and I’ll be sure to reply!
DO I NEED TO BRINE THE CHICKEN BREASTS FIRST?
No, it is not compulsory. Brining the chicken in a salt and water solution DOES indeed make the chicken breasts more tender because it helps to dissolve the meat fibers. However, I usually skip this step to save time since I’m usually making the chicken to go in another recipe like a pasta dish or chicken salad. I still get tender and juicy baked chicken breasts without brining.
But if you do have some extra time on your hands, you can brine the chicken breasts before proceeding with the recipe if you like. To make the saltwater brine, dissolve ¼ cup kosher salt in 1 quart of water in a large bowl. Add the chicken breasts to the bowl. Allow the chicken breasts to sit in the brine for 30 minutes to up to an hour. Then rinse them thoroughly with cold water. Pat-dry with paper towels and proceed with the recipe as per normal.
DO I NEED TO FLATTEN THE CHICKEN BREASTS WITH A MEAT MALLET?
If your chicken breasts are quite plump on the top front side, you can pound the chicken breasts to an even thickness with a meat mallet. When it comes to baking chicken breasts, I usually don’t find this necessary if they are are 5-7 ounces / 140-200 grams each or smaller. However, I will pound them to about half an inch thick when using larger sized chicken breasts. Flattening them to an even thickness will promote more even cooking. It’ll also prevent you from ending up with juicy perfectly cooked tops, with dried-out and tough overcooked bottoms/tips.
A side note: When pan-frying chicken breasts, a meat mallet and pounding to even thickness is NECESSARY in order to prevent them from curling up in the pan. The heat hits the chicken more directly when in a pan on the stovetop than it does in the oven. If you are curious, you can find out more about the importance of using a meat mallet when pan-frying chicken breasts in my Spicy Asian-Cajun Chicken Salad recipe post.
WHAT’S THE BEST OVEN TEMPERATURE TO BAKE THE CHICKEN BREASTS?
A lot of sites on the internet will tell you that it’s best to cook at a higher temperature (anywhere between 400°F-450°F/205-230°C) for a shorter duration (anywhere between 15-21 minutes). However, I personally find that cooking at 350°F/175°C for 20-22 minutes yields the best results. The crust is not too crispy or too soft when you cook at this moderate/medium temperature. And the chicken still becomes incredibly juicy on the inside.
COOKED CHICKEN INTERNAL TEMPERATURE
The FDA recommends cooking chicken until it reaches an internal temperature of 165°F/75°C.
This is a safe temperature for consuming chicken. Having said that, a couple of degrees over will still give you juicy chicken breasts. Mine usually end up at about 172-175°F/78-79°C with the mentioned baking temperature and time.
I highly recommend investing in a food thermometer if you want to make sure your chicken (or any other meat or fish you cook) is safe to eat. I’ve tried several over the last couple of years, and am finally happy with one that actually works and is easy to use: Thermapen Mk4 by ThermoWorks. You can get a quick and accurate reading with it easily for all types of cooking needs. So, do look into it if you are in the market for a new instant read thermometer. (This is NOT an affiliate link. But after trying so many, I truly believe that they’re one of the best food thermometer producers out there. I highly recommend the Thermapen Mk4!)
HOW LONG TO BAKE THE CHICKEN BREASTS?
Depending on the thickness and size of your chicken breasts, the cooking time will vary. It can range from 18-22 minutes when cooking at an oven temperature of 350°F/175°C. If you have smaller chicken breasts, the cook time will be less and range from 15-18 minutes. It’s best to check with a food thermometer to ensure that your chicken breasts have reached an internal temperature of 165°F/75°C. This will ensure that it’s safe to eat.
DO I NEED TO FLIP THE CHICKEN DURING BAKING?
Normally it is not necessary to flip the seasoned boneless and skinless chicken breasts unless your oven has uneven heat distribution. Most people actually don’t. However, I personally like to turn them once during baking to ensure that they cook and brown evenly on both sides. In addition, I find that they also look better once fully cooked.
HOW LONG TO WAIT BEFORE SLICING, CUBING, AND SHREDDING?
You can slice the chicken after resting for at least 10-12 minutes after baking. But if you’re making it to use for other recipes (not immediately serving/consuming), it’s best to wait until the chicken is completely cool. Same goes for cubing. The cooler the chicken is, the easier it will be to cut it without accidentally shredding it. You can shred the chicken breasts after resting for 10-12 minutes to lock in all the juices.
STORING AND FREEZING CHICKEN BREASTS
The baked chicken breasts can be stored in an airtight container in the refrigerator for 3-4 days. But if you’d like to freeze them, be sure to shred, dice, or slice them first before transferring to individual and portioned food storage containers or freezer bags. The chicken will stay good in the freezer for up to 3 months. When you’d like to use them, be sure to defrost in the fridge overnight or until fully thawed. Reheat in a pan on the stovetop or in the microwave for a minute or two, then use as per your needs.
MORE EASY PROTEIN RECIPES
Looking for more easy and flavorful proteins for meals and/or meal prep? Below are some of my tried and true faves! ♡
- Spicy Indian Pan-fried Salmon
- Baked Spicy Chicken Meatballs
- Spicy Mexican Shredded Chicken
- Crispy Pan-fried Tofu (coming next week!)
MADE THIS RECIPE? Please leave a comment and a ⭐️⭐️⭐️⭐️⭐️ star rating below and let me know how you liked it! You can also take a photo and tag it with @thatspicychick on Instagram and hashtag it #thatspicychick. I love seeing your creations!
PrintJuicy Baked Chicken Breasts
Learn how to make tender, perfectly seasoned, juicy baked chicken breasts in the oven with an easy method that works every time! You can cube, shred, or slice them, and then use for meal prep and in sandwiches, salads, pastas, soups, etc.!
- Prep Time: 5
- Cook Time: 20
- Total Time: 25 minutes
- Yield: 4 1x
- Category: Dinner
- Method: Bake
- Cuisine: American
Ingredients
- 4 Chicken Breasts, boneless, skinless – cleaned and pat-dried with paper towels
- 1.5 – 2 TSP Kosher Salt, to taste
- 1 TSP freshly cracked Black Pepper
- 1 TSP Paprika
- 1 TSP Garlic Powder
- 1.5 TBLS Olive Oil (or any cooking oil you prefer) – for brushing on the foil and chicken breasts
Instructions
- Preheat oven to 350°F/175°C. Line a baking tray with a sheet of aluminum foil and brush lightly with about a half tablespoon of olive oil (or any other cooking oil you prefer). (Note: If your chicken breasts are on the larger side and over 7 ounces / 200 grams each, I recommend pounding them with a meat mallet until they are about half an inch thick to promote even cooking.)
- Combine kosher salt, freshly cracked black pepper, paprika, and garlic powder in a small bowl. Mix with a spoon or use a small whisk to combine the spices and seasonings until fully integrated.
- Brush the remaining olive oil on the chicken breasts, then sprinkle the seasoning mixture on both sides until they are fully coated. You can use your fingers to rub the seasoning into the breasts. (The oil helps to keep the chicken breasts juicy during baking and allows the seasonings to better stick to them.)
- Place the chicken breasts (plump side up) on the foil lined baking tray and bake for 20-22 minutes, turning once using tongs halfway through, or until the chicken has fully cooked through. You can make sure that they are fully cooked by piercing the thickest part of the breasts with an instant read thermometer. It is safe to consume once it reads 165°F/75°C.
- Remove the baking tray from the oven and let the chicken rest for 10-12 minutes to lock in all the juices. Transfer the chicken breasts to a chopping board, making sure to let any extra liquid/juices drip onto the foil before placing them on the board. Use a sharp knife to cut into cubes, slice, or shred with two forks.
- Store in an airtight container in the refrigerator for up to 3-4 days, or freeze in individual and portioned storage containers or freezer bags for up to 3 months.


Notes
- Fresh vs. Frozen chicken breasts: You can use fresh or frozen. If using the latter, be sure to thaw the chicken breasts completely before proceeding with the recipe.
- Brining: Brining in a saltwater solution will break down the chicken fibers, which will result in more tender cooked chicken breasts. However, it is optional and not compulsory. If you would like to brine your chicken breasts first, dissolve ¼ cup kosher salt in 1 quart of water in a large bowl and add the chicken breasts. Allow the chicken breasts to sit in the brine for 30 minutes to up to an hour, then rinse them thoroughly with cold water. Pat-dry with paper towels and proceed with the recipe as per normal.
- Cook time variations: Depending on the thickness and size of your chicken breasts, the cook time will vary and range from 18-22 minutes when cooking at an oven temperature of 350°F/175°C. If you have smaller chicken breasts, the cook time may range from 15-18 minutes. It’s best to check with a food thermometer to ensure that your chicken breasts have reached an internal temperature of 165°F/75°C and is safe to eat. I highly recommend Thermapen Mk4 by ThermoWorks. You can get a quick and accurate reading with it very easily.
- To thaw cooked frozen chicken breasts: Defrost in the fridge overnight or until fully thawed. Reheat in a pan on the stovetop or in the microwave for a minute or two, then use as per your needs.
Nutrition
- Serving Size: 1 baked chicken breast
- Calories: 290
- Sugar: 0.1g
- Sodium: 672.4mg
- Fat: 10.4g
- Saturated Fat: 1.8g
- Unsaturated Fat: 6.5g
- Trans Fat: 0g
- Carbohydrates: 1.2g
- Fiber: 0.4g
- Protein: 45.3g
- Cholesterol: 146mg
This post may contain affiliate links. We are a part of the Amazon Services LLC Associates Program, an affiliate advertising program designed to provide a means for us to earn a small commission (at no extra cost to you) by linking to Amazon.com and affiliated sites. The nutritional information provided is approximate and can vary based on several factors. It should only be used as a general guideline. For more information, please see our Disclosure.


This recipe is really amazing. I keep making all the time. Thanks
Awesome, Rita! Glad you love it! 🙂
Today made this for my hubby . He loved it . Thank you for sharing receipe
Awesome, Geeta! Glad he enjoyed!
This chicken is amazing. I made for my family they loved it, was tender and juicy. Thanks
Fantastic, Rita! So glad your family enjoyed!!
Super quick, simple and moist chicken is always a treat.
I’ll be back!!
Fantastic Adam! Glad you enjoyed it!
I made this baked chicken twice.
My son loved it.
Awesome Aanchal! So glad he enjoys it!